Check out these Helpful Hints to Organize and Clean a Refrigerator
Most of us are guilty of treating our refrigerator as if it has a revolving door. Chances are it’s been a while since your fridge has had a deep cleaning. While it should be easy to keep a basic, out with the old in with the new routine, some things always seem to drift to the back and spoil. Spills and leaks accumulate over time. The reality is your refrigerator could be harboring some of the most disgusting molds and germs in your home. Here are some tips on how to clean a refrigerator followed by some suggestions on how to organize it.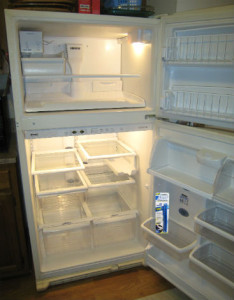
Here are steps to ensure your fridge is impeccably clean.
Empty the Fridge — Shelves, Drawers and All
While it seems like a pain, take everything out of your fridge. The only way to thoroughly clean the fridge is if it is completely empty. Taking everything out also allows you to double check expiration dates. Place everything in a cooler or another fridge, if you have one, and let the scrub begin.
Soak, Scrub, Rinse, Dry
Take out the removable drawers, bins, and shelves. Pour a quart of warm water and two tablespoons of baking soda or a squirt of dishwashing liquid in each removed drawer to soak for at least 15 minutes. Soak removable shelves and bins in the sink with dishwashing liquid and warm water. Do not put cold glass shelves in hot water!
As featured in the November 2016 issue of Real Simple magazine, use a non-scratch pen-shaped Scrigit Scraper cleaning tool to remove spots of dried food from the glass surfaces of the shelves and to clean along the shelf seams where the glass meets the plastic edges. A paste made from equal parts baking soda and hot water can help soften the dried food before scraping. A toothbrush could also help with the cleaning. Finish washing, rinsing, and drying the shelves and drawers.
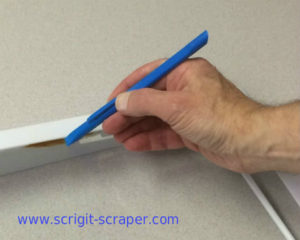
Scrigit Cleaning Fridge Shelf
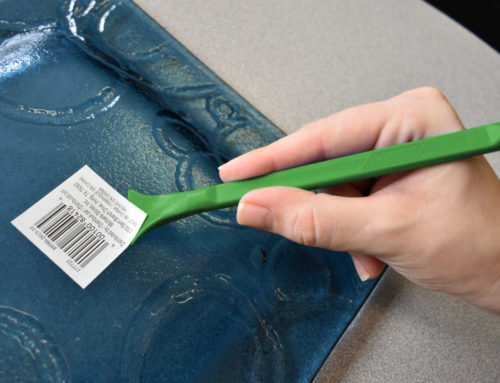
Clean a refrigerator interior with a microfiber or other clean cloth and a mixture of a ¼ cup baking soda to a half-gallon of warm water to wipe down the interior. Use a Scrigit Scraper to remove food spots and grime that won’t come off easily with just the cleaning solution. Baking soda will kill any lingering germs and eliminate all odor. Give a final wipe down and your fridge’s interior should be sparkling.
If your fridge comes equipped with a removable drip pan, remember to clean it while you are cleaning the other parts.
Take all the clean and dry drawers, bins, shelves, and drip pan, and return them to their rightful place. Now that we covered how to clean a refrigerator, here are some tips on how to organized it as you put the food back in.
There’s a Method to the Madness
The Drawers
It is likely your refrigerator drawers are marked as low and high humidity or veggie and fruit crispers. The low humidity drawer is where your fruits belong. Vegetables go in the other drawer with higher humidity.
It’s never a good idea to wash your fruit or veggies before you store them. Excess moisture increases your chance of rot and mold.
Bottom Shelf
The bottom shelf, the coolest spot in the fridge, is where your milk will last the longest. If you are storing raw meat it always belongs on the bottom shelf. Juices dripping from the top shelf can easily contaminate your entire fridge.
The Middle
Eggs tend to stay freshest on the middle and most temperature regulated shelf. If your refrigerator has a shallow drawer it can act as a home for your lunch meat. No shallow drawer? No Problem. The bottom shelf will work wonders.
The Door
The door is usually the home for condiments and pasteurized juices. Both include preservatives and usually will last a long time.
Butter and soft cheese have a home in the container on the door. If you love brie or goat cheese store in an airtight container and place in the same slot.
The Top
The top shelf can be used for your leftovers and other miscellaneous items.
Try to keep your food organized on an ongoing basis and to clean a refrigerator, follow these steps twice a year. The way you see your fridge will never be the same, unless you like to find gross moldy things in the back.
Get ready, get set, CLEAN!




Leave A Comment